Filtering the Monitor
Querying and Filtering the Monitor
If your site runs many Jobs at a time, the Monitor can have many Entries. To help you find the Entries that you want based on Job criteria, you can use Queries. There are two options for filtering the Monitor Entry Information:
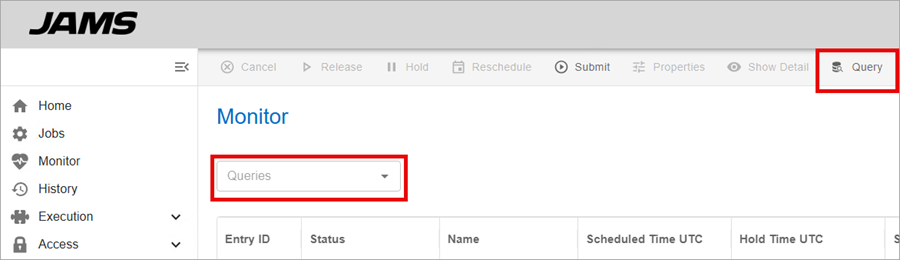
- The Query button – This option lets you filter by the Job name.
- The Queries drop-down menu – This option lets you select a predefined Filter by Job/Entry status, Entry number, name, date range, future or past window, or the Agent running the Job. These Queries are configured in the Query Management menu.
Querying for Jobs by Name
You can search for Jobs that are listed in the Monitor. The Query option lets you use a wildcard character to search for Jobs with a specified name.
- Open the Monitor.
- Click Query.
- Enter the name of the Job that you want to find. By default, the * character is displayed in the field.
- Click OK. The Monitor is updated with the search results.
Using Queries to Filter the Monitor
You can use predefined Queries to help filter the information that is displayed. If you select a Query, it applies to only your user account. If other users log in, they can choose their own Query to use.
- Open the Monitor.
- Click the Queries drop-down and select a Query. The Monitor is updated with the search results.
Clearing a Query
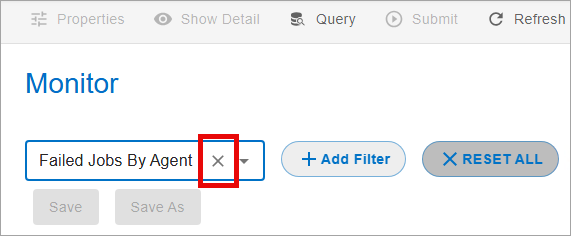
If you want to reset the Monitor view, you can clear the Query by clicking in the drop-down menu and clicking the X next to its name. You can also use the RESET ALL option to reset all unsaved changes in the selected Query.
Updating a Query in the Monitor
After you apply a Query to the Monitor view, you can make additional adjustments to the Filters within that Query. You can then save the changes to the existing Query or save it to a new Query. If your account does not have Execute and Inquire Access, the changes will not be saved.
To add a new Filter to the Query:
- Click + Add Filter.
- Select a new Filter from the drop-down menu.
- Click APPLY FILTERS.
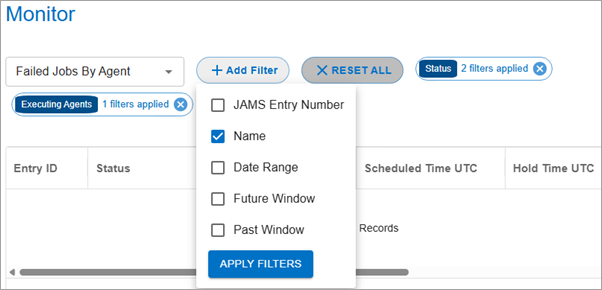
- Click the new Filter tile to add a value.
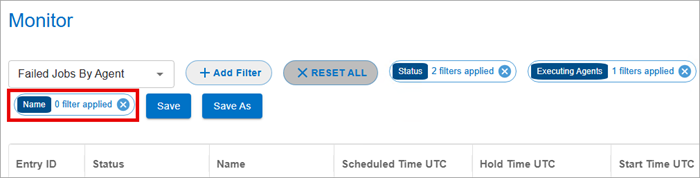
- Add the value.
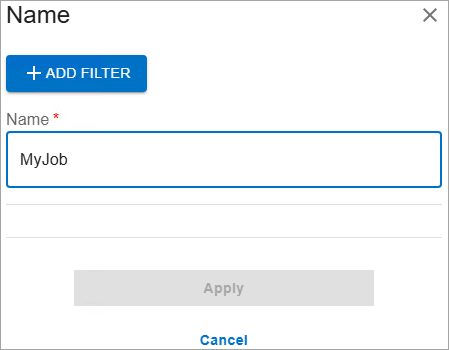
- Click + ADD FILTER.
- Click Apply.
- Click Save or Save As to save changes as another Query.
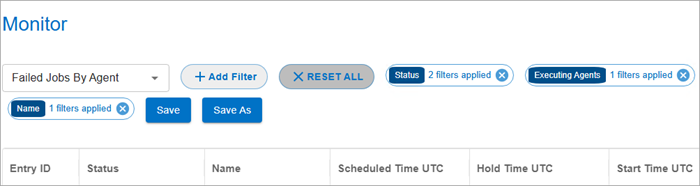
To update a Filter in a Query:
- Click the Filter tile.
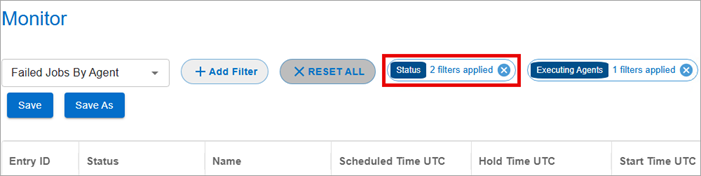
- To remove the value, click the X next to it and then click Apply.
- To update the filter, add or select a new value.
- Click + ADD FILTER.
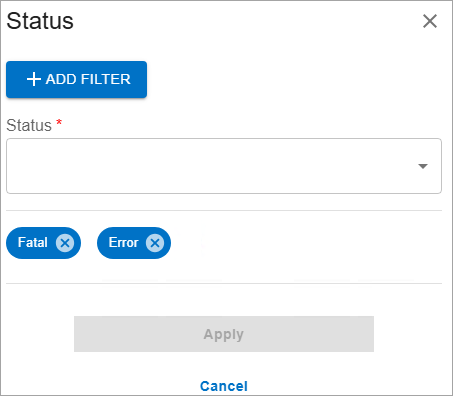
- Click Apply.
- Click Save.